Evans Plumbing Inc Blog : Archive for June, 2023

The Value of Using Quality Ball Valves

Thursday, June 29th, 2023

June 29th 2023

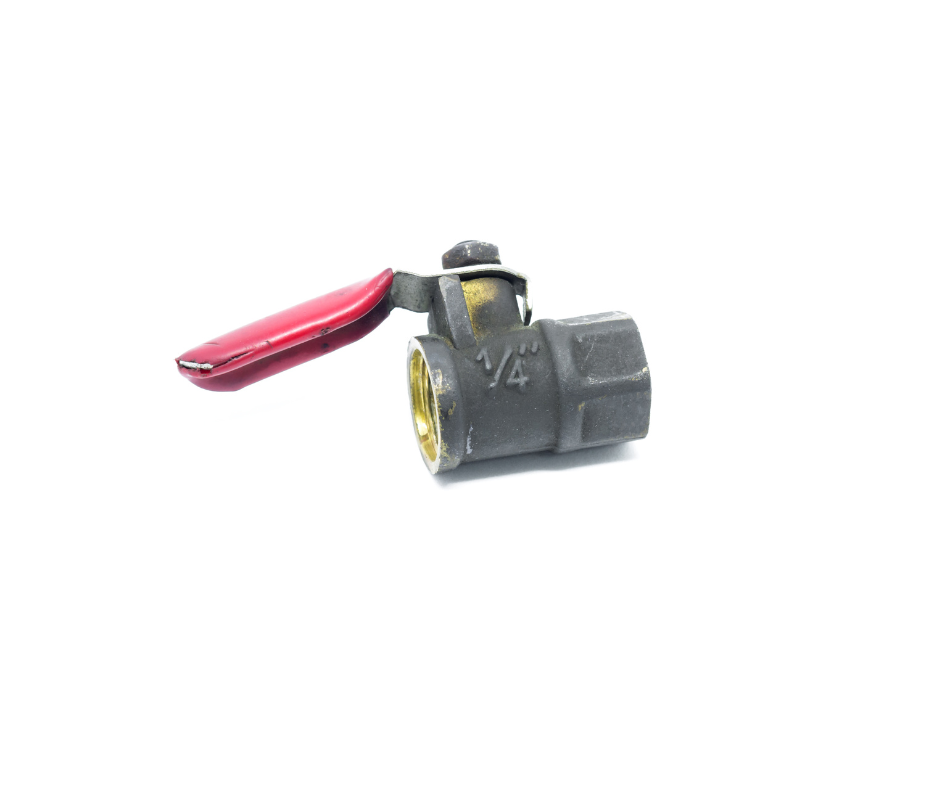
When it comes to plumbing systems, ball valves play a crucial role in regulating the flow of water or other fluids. These valves are commonly found in residential, commercial, and industrial settings, ensuring the smooth operation of various plumbing applications. While it may be tempting to opt for cheaper alternatives, investing in quality parts for your ball valves is a decision that can save you from headaches and costly repairs in the long run. In this blog, we will explore the value of using quality parts for your ball valves in plumbing and discuss the benefits they offer.

  1. Durability and Longevity: One of the primary advantages of choosing high-quality parts for your ball valves is the durability they provide. Quality valves like those manufactured by Marcone (previously Wolverine Brass) are built to withstand the demands of continuous use and are resistant to corrosion, leaks, and other common plumbing issues. By investing in these durable parts, you can avoid frequent replacements and repairs, ultimately saving you time and money.
  2. Enhanced Performance: Using quality parts for your ball valves ensures optimal performance in your plumbing system. Inferior valves may have design flaws or loose components that hinder their functionality, leading to reduced water pressure, leaks, or even complete valve failure. On the other hand, quality ball valves are engineered to provide smooth operation, precise control over flow, and reliable sealing, thus improving the overall efficiency of your plumbing system.
  3. Leakage Prevention: Leaky ball valves can result in water wastage, increased utility bills, and potential damage to your property. By choosing quality parts, you significantly reduce the chances of leaks occurring. Quality valves incorporate advanced sealing mechanisms and robust construction that effectively prevent leaks and drips, ensuring that your plumbing system operates flawlessly.
  4. Resistance to Corrosion: Plumbing systems are exposed to water, chemicals, and various environmental factors that can lead to corrosion over time. Low-quality ball valves are more susceptible to corrosion, which compromises their performance and lifespan. In contrast, high-quality valves are often made from corrosion-resistant materials such as stainless steel or brass, providing long-lasting protection against rust and corrosion.
  5. Compatibility and Adaptability: Every plumbing system has its unique requirements and specifications. Quality ball valves come in a variety of sizes, materials, and configurations, allowing you to select the most suitable option for your specific needs. Whether you require a ball valve for a residential sink, a commercial boiler, or an industrial pipeline, quality parts offer the flexibility and compatibility required to ensure a perfect fit and proper functionality.
  6. Safety and Peace of Mind: Plumbing issues can result in inconvenience, property damage, and even safety hazards. By using quality parts for your ball valves, you minimize the risk of malfunctions, leaks, and unexpected failures, providing peace of mind. High-quality valves are often designed and tested to meet industry standards, ensuring their reliability and safety in various plumbing applications.

Conclusion: When it comes to your plumbing system, investing in quality parts for your ball valves is an investment in the reliability, durability, and efficiency of your entire system. The use of high-quality valves not only saves you from frequent repairs and replacements but also ensures optimal performance, prevents leaks, and promotes safety. So, the next time you are faced with the choice between quality and cost, remember the long-term benefits of choosing quality parts for your ball valves in plumbing. Your plumbing system will thank you for it.

Continue Reading

The Importance of Changing Your HVAC Filter

Monday, June 26th, 2023

June 26th 2023

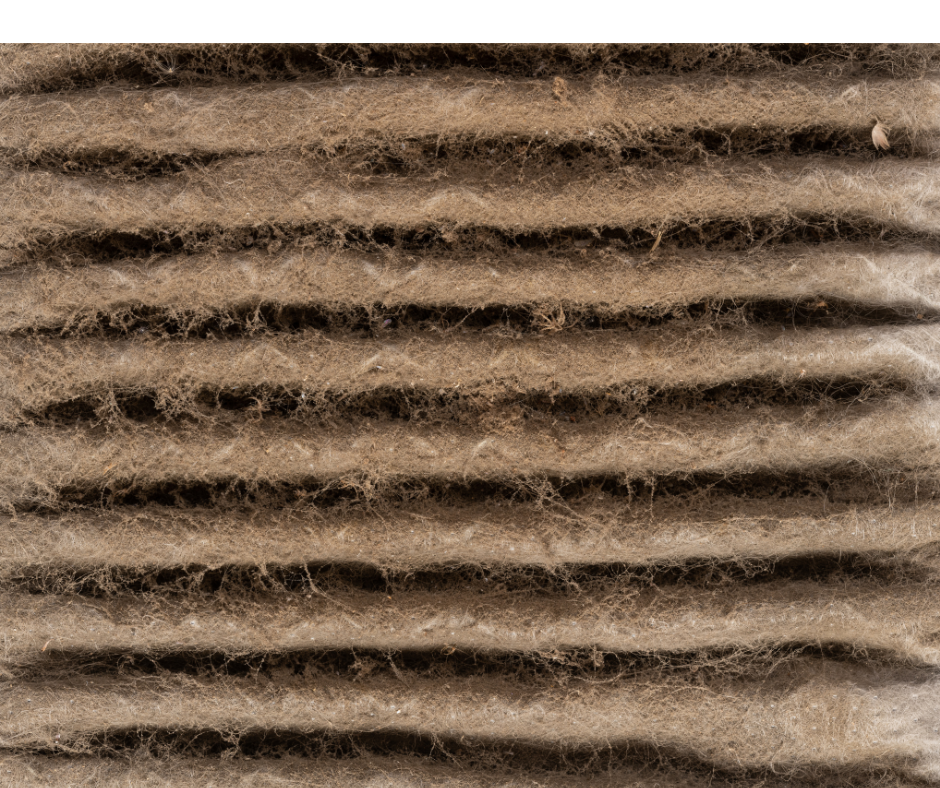
As homeowners, we take pride in maintaining a comfortable and healthy living environment. One essential component that often goes overlooked is the HVAC (Heating, Ventilation, and Air Conditioning) system’s air filter. Regularly changing your HVAC filter is crucial for several reasons, ranging from improved indoor air quality to maximizing system efficiency. In this blog, we will explore the reasons why changing your HVAC filter is necessary and provide insights into how often you should replace it.

  1. Enhancing Indoor Air Quality:

One of the primary reasons to change your HVAC filter regularly is to enhance indoor air quality. The air filter’s primary function is to trap airborne particles such as dust, pollen, pet dander, mold spores, and other contaminants, preventing them from circulating throughout your home. Over time, these particles accumulate and clog the filter, diminishing its effectiveness. A dirty filter can result in poor air quality, leading to allergies, respiratory issues, and general discomfort for occupants.

  1. Maintaining HVAC System Efficiency:

A clean HVAC filter allows for unobstructed airflow, enabling your system to operate efficiently. When the filter becomes clogged, the system has to work harder to draw air through, increasing energy consumption and potentially leading to system strain. This inefficiency can result in higher utility bills and premature wear and tear on components. By regularly changing your HVAC filter, you can help maintain optimal airflow, improve energy efficiency, and extend the lifespan of your system.

  1. Preventing Costly Repairs:

Neglecting to change your HVAC filter can have long-term consequences for the system’s performance. A clogged filter places additional stress on the blower motor, evaporator coil, and other vital components. This strain can lead to overheating, freezing, or even a complete system breakdown. The cost of repairing or replacing damaged components far exceeds the relatively low cost of regularly replacing filters. By staying proactive in filter maintenance, you can prevent costly repairs and keep your HVAC system running smoothly.

  1. Extending HVAC System Lifespan:

An HVAC system represents a significant investment, and homeowners naturally want to maximize its lifespan. Regularly changing the air filter is an essential step in achieving this goal. A clean filter ensures that the system operates with reduced strain, minimizing the risk of premature failure and extending its overall lifespan. By incorporating filter replacement into your regular maintenance routine, you can enjoy the comfort of your HVAC system for years to come.

How Often Should You Change Your HVAC Filter?

The frequency of filter changes depends on several factors, including the type of filter, the level of pollutants in your home, and the manufacturer’s recommendations. Here are some general guidelines:

  1. Standard Filters: Most standard fiberglass or pleated filters should be replaced every 30 to 90 days. However, it’s essential to inspect the filter monthly and replace it sooner if it appears visibly dirty or clogged.
  2. High-Efficiency Filters: High-efficiency filters, such as HEPA filters, are designed to capture smaller particles and may last longer—usually between three to six months. Again, regular inspections are crucial to determine if the filter requires replacement sooner.
  3. Factors Affecting Filter Life: Certain factors can impact how frequently you should change your filter. If you have pets, smoke indoors, or live in an area with high pollen or dust, you may need to replace the filter more frequently to maintain optimal performance.

Conclusion:

Regularly changing your HVAC filter is a simple yet effective way to improve indoor air quality, enhance system efficiency, prevent costly repairs, and extend the lifespan of your HVAC system. By adhering to manufacturer recommendations and monitoring the filter’s condition, you can ensure that your HVAC system operates at its best while providing a

Continue Reading

Fixing a Faucet That Sprays

Friday, June 23rd, 2023

June 23rd 2023

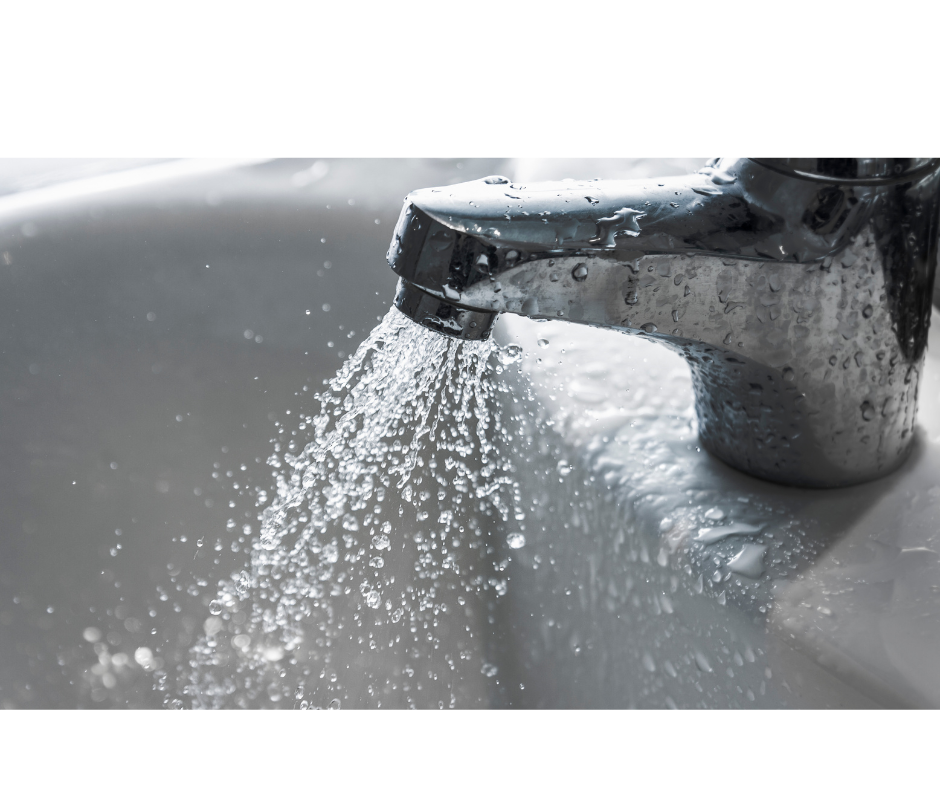
A faucet is an essential fixture in every household, providing us with clean water for various purposes. However, encountering a faucet that sprays water in unexpected directions can be frustrating. Thankfully, many common issues leading to a spraying faucet can be resolved with a few simple troubleshooting steps. In this blog post, we will guide you through the process of fixing a faucet that sprays, helping you regain control over your water flow.

Step 1: Gather the necessary tools: Before beginning any repairs, gather the following tools to ensure a smooth troubleshooting process:

  1. Adjustable wrench
  2. Screwdriver (Phillips or flathead, depending on your faucet)
  3. Pliers
  4. Clean cloth or towel
  5. Penetrating lubricant (if necessary)
  6. Replacement parts (if required)

Step 2: Turn off the water supply: To avoid any potential water damage or accidents, it’s crucial to turn off the water supply before working on the faucet. Locate the shut-off valves beneath the sink and turn them clockwise until the water flow stops completely.

Step 3: Examine the aerator: The aerator is a small mesh screen located at the end of the faucet spout. Over time, mineral deposits can build up, causing the water to spray unevenly. Unscrew the aerator using your hands or pliers (if necessary) and inspect it for debris or mineral buildup. If dirty, soak the aerator in a vinegar solution for a few hours, then scrub it gently with a toothbrush to remove any remaining deposits. Rinse it thoroughly and reattach it to the faucet spout.

Step 4: Check the cartridge or valve: Faulty cartridges or valves are common culprits behind erratic water spray patterns. Depending on the type of faucet, you may need to remove the handle or decorative cap to access the cartridge or valve. Use a screwdriver or adjustable wrench to loosen and remove the cartridge or valve. Inspect it for any signs of damage, such as cracks or worn-out parts. If necessary, replace the defective component with a new one, following the manufacturer’s instructions.

Step 5: Inspect the O-rings and washers: A worn-out O-ring or washer can lead to leaks and erratic water flow. Disassemble the faucet by removing the handle, decorative cap, and any retaining nuts or screws. Inspect the O-rings and washers for signs of wear, corrosion, or damage. If needed, replace them with new ones that match the faucet model. Lubricate the O-rings with silicone-based grease before reassembling the faucet.

Step 6: Address loose connections: Loose connections within the faucet assembly can cause water to spray in unintended directions. Inspect the various connections, including the supply lines, nuts, and bolts. Use an adjustable wrench to tighten any loose connections, ensuring they are snug but not over-tightened.

Step 7: Test and restore water supply: Once you have completed the necessary repairs, turn on the water supply by reversing the process from Step 2. Gradually open the shut-off valves to allow water to flow through the faucet. Carefully observe the water flow for any signs of spraying. If the issue persists, double-check your repair work and consider seeking professional assistance if needed.

Conclusion: Fixing a faucet that sprays water can be a manageable task with a systematic approach. By following the steps outlined in this blog post, you can troubleshoot and resolve many common causes of erratic water flow. Remember to exercise caution throughout the process, turn off the water supply before making any repairs, and seek professional help if you’re uncertain or the problem persists. With a little patience and the right

Continue Reading

Why Should I Choose to Use a Journeyman Plumber?

Monday, June 19th, 2023

June 16th 2023

Plumbing is an essential trade that ensures the smooth functioning of our homes, businesses, and infrastructure. Plumbers play a crucial role in installing, repairing, and maintaining plumbing systems. In the state of Idaho, becoming a journeyman plumber requires a combination of formal education, on-the-job training, and licensure. In this blog, we’ll explore the training and school requirements necessary to embark on a fulfilling career as a journeyman plumber in Idaho.

  1. High School Education: The first step towards becoming a journeyman plumber is to obtain a high school diploma or equivalent. A solid foundation in mathematics, physics, and technical skills can provide a valuable head start in the plumbing trade.
  2. Vocational Education Programs: To gain theoretical knowledge and practical skills, aspiring plumbers often pursue vocational education programs. Idaho offers several technical and trade schools that offer plumbing courses. These programs provide comprehensive training in areas such as plumbing codes, pipefitting, drainage systems, blueprint reading, and safety protocols. Students learn through a combination of classroom instruction and hands-on experience.
  3. Apprenticeship Programs: After completing a vocational program or during their studies, aspiring plumbers typically seek apprenticeship opportunities. Apprenticeships provide invaluable real-world experience under the guidance of experienced professionals. In Idaho, aspiring journeyman plumbers must complete a state-approved apprenticeship program, which generally lasts four to five years. During this period, apprentices work alongside licensed plumbers, honing their skills in various aspects of the trade, including installation, repair, and maintenance.
  4. Idaho Plumbing Code: A crucial part of a plumber’s training involves understanding and adhering to the Idaho Plumbing Code. Plumbers must familiarize themselves with these regulations to ensure the safety and efficiency of plumbing systems. The Idaho Division of Building Safety oversees the enforcement of plumbing codes and issues licenses to qualified professionals.
  5. Journeyman License: To become a journeyman plumber in Idaho, individuals must obtain a journeyman license. The specific requirements may vary, but generally, applicants must meet the following criteria:
    • Completion of an approved apprenticeship program.
    • Accumulation of a specific number of documented work hours.
    • Successful completion of the journeyman plumber examination, which tests knowledge of plumbing theory, code compliance, and practical skills.
  6. Continuing Education: Once licensed as a journeyman plumber, professionals in Idaho must participate in continuing education programs to stay updated with evolving plumbing technologies, techniques, and code revisions. Regularly attending workshops, seminars, and training sessions ensures that plumbers remain competent and informed throughout their careers.

Conclusion: Becoming a journeyman plumber in Idaho requires a dedication to learning, a passion for the trade, and a commitment to safety and quality workmanship. The journey begins with a solid educational foundation, followed by vocational training, hands-on experience, and successful completion of an apprenticeship program. Finally, acquiring a journeyman license opens up opportunities for a rewarding career in plumbing. By consistently staying informed and pursuing ongoing education, journeyman plumbers can thrive in this dynamic field while serving the plumbing needs of their communities in Idaho.

Continue Reading

Simple Steps for Maintaining Your Garbage Disposal: A Complete Guide

Thursday, June 15th, 2023

June 15th 2023

Garbage disposals are a handy appliance in any kitchen, helping to eliminate food waste and keep your kitchen clean and odor-free. However, like any other appliance, they require regular maintenance to ensure optimal performance and longevity. In this blog, we will discuss simple yet effective steps to maintain your garbage disposal and keep it in excellent working condition.

  1. Use Cold Water: Always run cold water when using your garbage disposal. Cold water helps solidify grease and oils, preventing them from clogging the disposal and pipes. It also aids in flushing away food particles more effectively. After using the disposal, continue running cold water for an additional 10-15 seconds to ensure thorough rinsing.
  2. Cut Food Waste Into Small Pieces: To prevent overloading the disposal, cut large food waste into smaller pieces before grinding. This helps the blades chop the waste more efficiently and reduces the risk of clogs or jams. Avoid disposing of hard items like bones, shells, or fruit pits, as they can damage the disposal’s blades.
  3. Avoid Fibrous Foods and Starchy Substances: Fibrous foods like celery, corn husks, and artichokes can wrap around the disposal blades, causing clogs and reducing its effectiveness. Similarly, starchy substances like potato peels and rice tend to expand when exposed to water, leading to blockages. Dispose of these items in the regular trash or compost them instead.
  4. Use Citrus Fruits or Ice Cubes for Odor Control: Over time, garbage disposals can develop unpleasant odors. To combat this issue, toss a few citrus fruit peels (lemons, oranges, or limes) into the disposal and run it with cold water. The natural oils from the peels help freshen up the unit. Alternatively, you can use ice cubes to clean the blades and remove any food residue.
  5. Regular Cleaning: Cleaning your garbage disposal is crucial to maintain its efficiency and prevent the buildup of grime and odors. One effective method is to mix equal parts vinegar and baking soda and pour the solution into the disposal. Let it sit for a few minutes, then flush it out with hot water while running the disposal. This helps remove debris and neutralizes any unpleasant smells.
  6. Be Mindful of Non-Food Items: Ensure that only food waste enters the garbage disposal. Avoid disposing of non-food items like plastic, glass, metal, or paper, as they can damage the unit and cause blockages. Always double-check before running the disposal to avoid any accidents.
  7. Schedule Professional Maintenance: While regular maintenance can significantly extend the life of your garbage disposal, it’s advisable to schedule professional maintenance periodically. A trained plumber can inspect the unit, clean hard-to-reach areas, and address any underlying issues to keep your garbage disposal in optimal condition.

Proper maintenance of your garbage disposal is essential for its longevity and efficient operation. By following these simple steps, you can prevent clogs, keep odors at bay, and ensure that your kitchen remains clean and functional. Remember to use cold water, cut food waste into small pieces, and avoid fibrous or starchy substances. Additionally, regular cleaning and professional maintenance will go a long way in ensuring the smooth functioning of your garbage disposal for years to come.

Continue Reading

Unveiling the Stellar Reviews of Evans Plumbing in Twin Falls, Idaho

Tuesday, June 13th, 2023

June 13th 2023

When it comes to plumbing services, finding a reliable and trustworthy company is of utmost importance. In Twin Falls, Idaho, one such company that has earned an exceptional reputation is Evans Plumbing. With a multitude of reviews on Google, Evans Plumbing has garnered the trust and appreciation of countless satisfied customers. In this blog, we will delve into the outstanding reviews this company has received, showcasing their commitment to quality, professionalism, and customer satisfaction.

  1. A Wealth of Five-Star Ratings:

Evans Plumbing stands out with an impressive collection of five-star ratings on Google. Numerous customers have praised their exceptional service, prompt response times, and efficient problem-solving abilities. The consistently high ratings reflect the company’s commitment to delivering top-notch plumbing solutions and ensuring customer satisfaction.

One reviewer, Jane M., commended Evans Plumbing for their quick response to a plumbing emergency and their thoroughness in fixing the issue. Another customer, John R., expressed gratitude for their knowledgeable technicians and fair pricing. These glowing reviews highlight the company’s dedication to providing excellent service and going above and beyond to meet customers’ expectations.

  1. Exemplary Customer Service:

Evans Plumbing has built a strong reputation for its exceptional customer service. Many reviewers have applauded the company for its friendly and professional staff who make the entire experience pleasant and stress-free.

Multiple customers have mentioned how the plumbers from Evans Plumbing take the time to explain the problem and its solution in a clear and concise manner. This transparency and willingness to educate customers instill a sense of trust and confidence, leaving clients satisfied with their decision to choose Evans Plumbing.

  1. Dependability and Reliability:

Time and again, customers have praised Evans Plumbing for its reliability and dependability. Several reviewers have mentioned how the company consistently delivers on its promises, arriving promptly and completing projects efficiently.

One customer, Sarah H., highlighted the company’s commitment to timely service and their ability to work within her schedule. Another reviewer, Mark T., appreciated their attention to detail and the meticulous manner in which they completed the plumbing job.

Conclusion:

Evans Plumbing in Twin Falls, Idaho, has earned a stellar reputation for its exceptional plumbing services, as evidenced by the multitude of positive reviews on Google. With a commitment to professionalism, outstanding customer service, and prompt problem-solving, they have built a loyal customer base in the community.

If you are in need of reliable plumbing services in Twin Falls, look no further than Evans Plumbing. Their glowing reviews on Google attest to their expertise, reliability, and dedication to customer satisfaction.

Continue Reading

Clearing the Way: A Guide to Cleaning Out Your Dryer Vent

Monday, June 12th, 2023

June 12th 2023

Regularly cleaning out your dryer vent is a crucial maintenance task that often goes overlooked. A clogged dryer vent not only reduces the efficiency of your machine but also poses a serious fire hazard. In this blog post, we will provide you with a comprehensive guide on how to clean out your dryer vent, step by step. We’ll also include helpful photos to assist you throughout the process, ensuring a safer and more efficient drying experience for you and your home.

Step 1: Gather the Necessary Tools Before you begin cleaning your dryer vent, gather the following tools:

  1. Screwdriver
  2. Vacuum cleaner with a narrow attachment
  3. Dryer vent brush or cleaning kit
  4. Protective gloves
  5. Safety goggles

Step 2: Unplug the Dryer To ensure your safety, unplug the dryer from the power source. This step is crucial before you proceed with any cleaning tasks.

Step 3: Disconnect the Dryer Vent Hose Using a screwdriver, loosen the clamps securing the vent hose to the dryer. Carefully detach the hose from the dryer and set it aside. If necessary, use the vacuum cleaner to remove any lint or debris from the disconnected hose.

Step 4: Clean the Vent Opening Inspect the vent opening on the back of your dryer. Use the narrow attachment on your vacuum cleaner to remove any lint or debris that may have accumulated. Be thorough in this step, as a clear vent opening allows for better airflow.

Step 5: Clean the Vent Pipe Insert the dryer vent brush or cleaning kit into the vent pipe, carefully pushing it through until it reaches the exterior of your home. Follow the manufacturer’s instructions on how to use the cleaning tool effectively. The brush or kit will dislodge and remove lint buildup, improving the vent’s airflow. Here is a link to a great tool.

Step 6: Vacuum the Area Using the vacuum cleaner, remove any lint or debris that may have fallen around the dryer or vent area. Pay attention to the floor and walls, as lint can accumulate in these areas over time.

Step 7: Reconnect the Vent Hose Once you’ve thoroughly cleaned the vent pipe and surrounding area, reconnect the vent hose to the dryer. Ensure the clamps are securely fastened to prevent any leaks or disconnections.

Step 8: Perform a Test Run Plug in the dryer and turn it on to check if it is functioning properly. Feel the airflow coming out of the vent to ensure it is strong and consistent. If you notice any issues, double-check the connections and repeat the cleaning process if necessary.

Conclusion: Regularly cleaning out your dryer vent is a vital maintenance task that should not be overlooked. By following these step-by-step instructions and using the accompanying photos as a visual guide, you can effectively remove lint buildup and improve the airflow in your dryer vent. Remember, a clean and clear dryer vent not only enhances the efficiency of your machine but also reduces the risk of fire hazards. Take the time to clean your dryer vent regularly to ensure a safer and more efficient drying experience for years to come

Continue Reading

Is My Water Heater Working Properly?

Thursday, June 8th, 2023

June 8th 2023

A reliable and efficient water heater is essential for everyday comfort and convenience. Whether it’s a traditional storage tank or a tankless system, maintaining your water heater is crucial to ensure it functions properly and lasts for its expected lifespan. Neglecting regular maintenance can lead to decreased efficiency, higher energy bills, and even premature failure. In this blog, we will discuss practical tips to help you ensure your water heater is working properly, enabling you to enjoy hot showers and clean dishes without any unexpected surprises.

  1. Regular Inspection: Performing routine visual inspections of your water heater is a fundamental step in identifying any potential issues early on. Keep an eye out for signs of leaks, rust, or corrosion around the unit, as these can indicate problems that require immediate attention. Additionally, check the pressure relief valve for proper functioning, ensuring it releases pressure when necessary.
  2. Temperature and Pressure Relief Valve Testing: The temperature and pressure relief valve is a crucial safety component of a water heater. It prevents excessive pressure build-up and potential explosions. To test the valve, follow these steps:a. Turn off the power supply to the water heater. b. Place a bucket underneath the valve to catch any water. c. Lift the valve’s lever for a few seconds, allowing water to discharge. d. If the valve doesn’t release water or continues to leak afterward, it may be faulty and require professional attention.
  3. Flushing Sediment Build-up: Over time, sediment can accumulate at the bottom of your water heater’s tank, impairing its efficiency and potentially leading to premature failure. Flushing the tank annually helps remove sediment, ensuring optimal performance. Here’s how to do it:a. Turn off the water heater and the cold water supply valve. b. Attach a garden hose to the drain valve at the base of the tank. c. Place the other end of the hose in a suitable drainage area or a bucket. d. Open the drain valve and allow the water to flow until it appears clear. e. Close the drain valve and carefully refill the tank before turning on the power supply.
  4. Insulation for Energy Efficiency: Proper insulation helps minimize heat loss from your water heater, reducing energy consumption and lowering your utility bills. Insulating the hot water pipes and the water heater tank itself can significantly improve energy efficiency. Ensure that you use appropriate insulation materials and follow safety guidelines during the installation process.
  5. Annual Professional Maintenance: While some maintenance tasks can be performed by homeowners, it is advisable to schedule an annual professional inspection and maintenance service for your water heater. Qualified technicians can perform comprehensive checks, address any underlying issues, and ensure that your water heater is operating safely and efficiently.

Conclusion: Maintaining your water heater is a responsibility that can bring substantial benefits, including increased efficiency, extended lifespan, and cost savings. By performing regular inspections, testing safety valves, flushing sediment, insulating appropriately, and seeking professional maintenance, you can ensure that your water heater operates optimally and reliably for years to come. Remember, a small investment of time and effort in maintenance can save you from the inconvenience and expense of unexpected water heater failures.

Continue Reading

How to Unclog a Toilet

Monday, June 5th, 2023

June 5th 2023

Dealing with a clogged toilet is an unpleasant situation that many of us have encountered at some point. While it may seem like a daunting task, unclogging a toilet is a relatively simple DIY plumbing project that can save you time and money. In this blog post, we will guide you through the step-by-step process of unclogging a toilet using common household tools and a few effective techniques. With these easy-to-follow instructions, you’ll have your toilet back in working order in no time.

Materials and Tools Needed:

  1. Rubber gloves.
  2. Plunger (a flange or ball-shaped plunger works best).
  3. Bucket or container.
  4. Toilet auger or plumbing snake (optional).
  5. Baking soda and vinegar (alternative solution).
  6. Hot water (alternative solution).

Step 1: Put on Protective Gear Before you begin, ensure your safety by putting on a pair of rubber gloves. This will protect your hands from any potential mess or bacteria.

Step 2: Assess the Situation Take a moment to assess the severity of the clog. If the toilet bowl is filled to the brim and overflowing, skip to Step 3. If the water level is not too high, you can proceed to Step 4 and attempt to unclog it using a plunger.

Step 3: Prevent Overflow (Emergency Procedure) To prevent the toilet from overflowing, locate the toilet’s shutoff valve, usually located near the base of the toilet or on the wall behind it. Turn the valve clockwise to shut off the water supply to the toilet. If you can’t find the shutoff valve or it’s not working, remove the tank lid and lift the flapper valve manually to stop more water from entering the bowl. Once the water flow is stopped, proceed to unclog the toilet.

Step 4: Plunge the Toilet

  1. Position the plunger over the drain hole at the bottom of the toilet bowl, ensuring a tight seal.
  2. Apply downward pressure and use a firm, consistent motion to create suction. Pump the plunger up and down vigorously for about 20-30 seconds.
  3. Release the plunger, and if successful, the water should start to drain. Repeat the plunging motion if necessary, until the water flows freely and the clog is cleared.

Step 5: Use a Plumbing Snake or Toilet Auger (if needed) If the plunger doesn’t work, you may need to use a plumbing snake or toilet auger to clear the clog:

  1. Insert the auger’s end or snake into the toilet bowl’s drain hole.
  2. Rotate the handle clockwise as you gently push the snake further into the drain.
  3. Continue feeding the snake until you feel resistance or obstruction.
  4. Once you encounter the clog, rotate the handle in the opposite direction to break it up or pull it out.
  5. Repeat the process until the clog is cleared, and then flush the toilet to ensure proper drainage.

Alternative Solutions: If you don’t have a plunger or plumbing snake on hand, you can try the following alternatives:

  1. Baking Soda and Vinegar: a. Pour about 1 cup of baking soda into the toilet bowl. b. Slowly pour 2 cups of vinegar into the bowl. c. Allow the mixture to sit for about 30 minutes. d. Flush the toilet to check if the clog has cleared. Repeat if necessary.
  2. Hot Water: a. Boil a large pot of water. b. Carefully pour the hot water into the toilet bowl from a height of about waist level. c. Let the hot water sit for a few minutes, and then attempt to flush the toilet.

Note: These alternative methods are effective for minor clogs, but may not work for more stubborn obstructions.

Conclusion: Unclogging a toilet doesn’t have to be a daunting task. By following these simple steps and utilizing the tools and techniques provided, you can quickly and effectively clear most toilet clogs on your own. However, if you encounter persistent clogs or plumbing issues, it’s always recommended to seek professional help to avoid further damage to your plumbing system.

Continue Reading